
Add a contact-based visual
A visual always belongs to a campaign. You assign it to the campaign, set run time, stores, volume and contact target, and upload the video.
Before you start
Section titled “Before you start”- The campaign has been created. A visual can only be assigned to an existing campaign.
- Have the video file ready. The file requirements are in Visual specifications.
- The difference between Commercial and Unlimited visuals is explained in Understand campaign kinds.
-
Open Contact-based Visuals
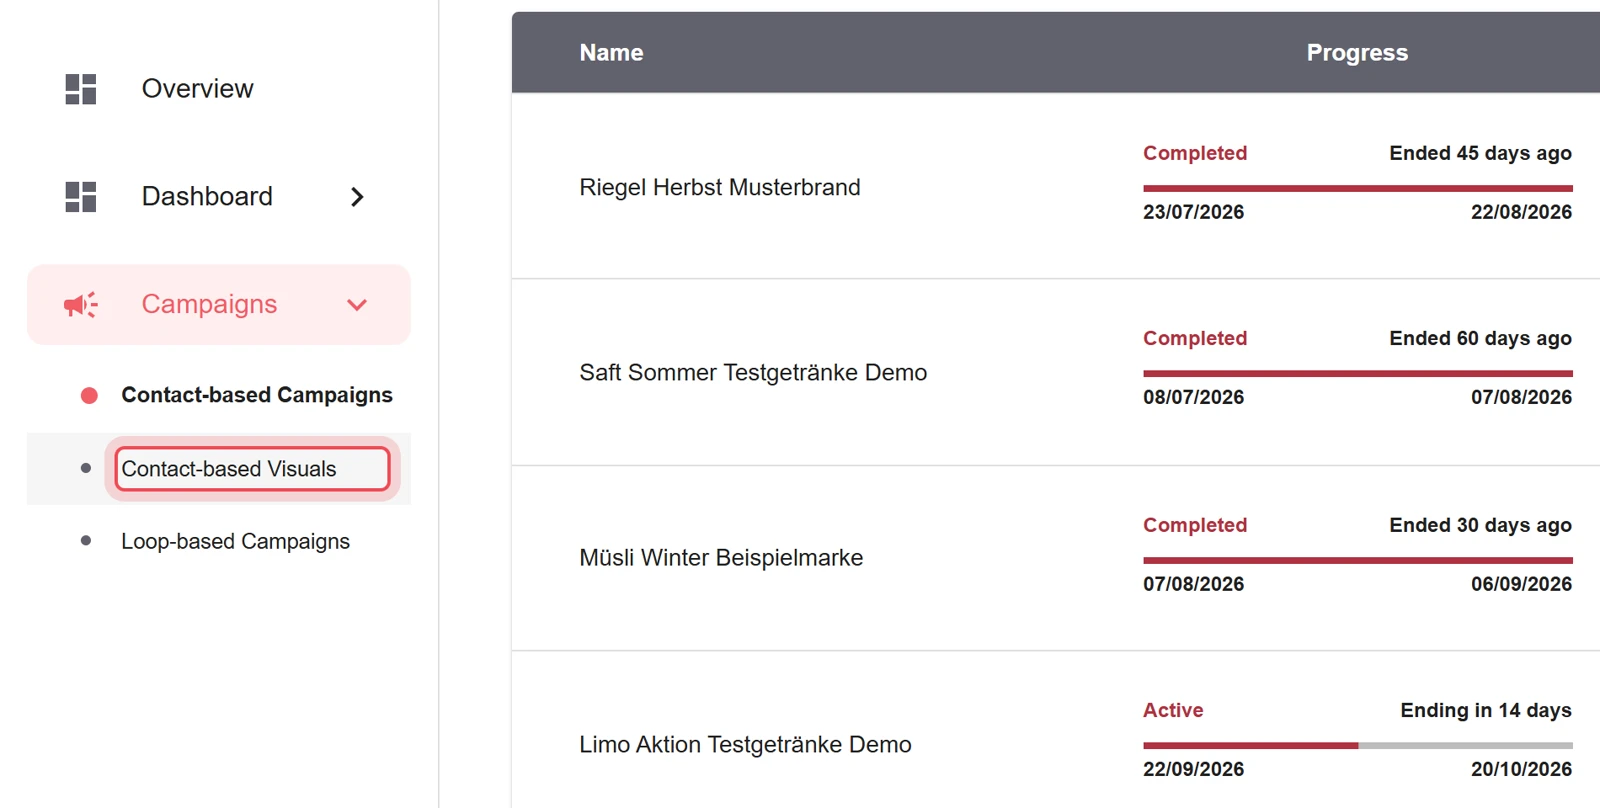
In the Campaigns menu, choose Contact-based Visuals.
-
Start a new visual
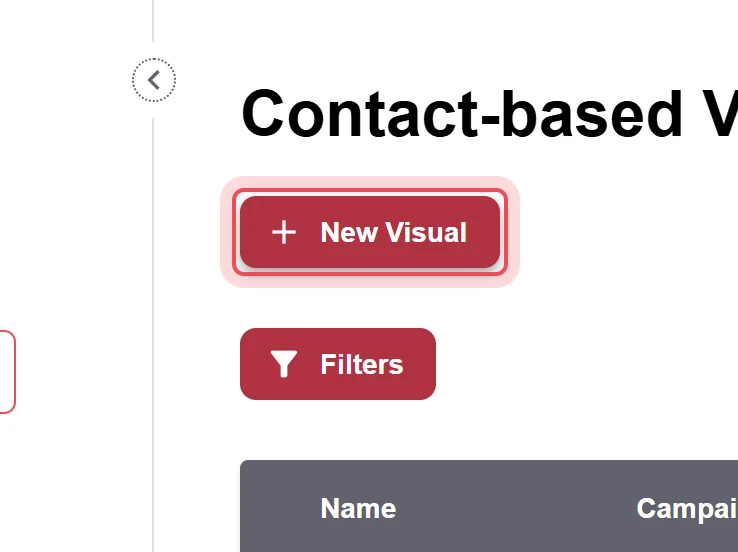
Click New Visual.
-
Choose the owner (only with several companies)
If you have access to several companies, choose in the Owner field the company you are adding the visual for. Companies without an active campaign are greyed out, the note reads «No active campaigns for this company». Only users of Cyreen and of a tenant see the Owner field. The values in the form depend on the chosen owner, including which campaigns can be selected for visuals (Campaign) and which stores (Stores). New with the upcoming CAP Explorer release.
-
Choose the campaign
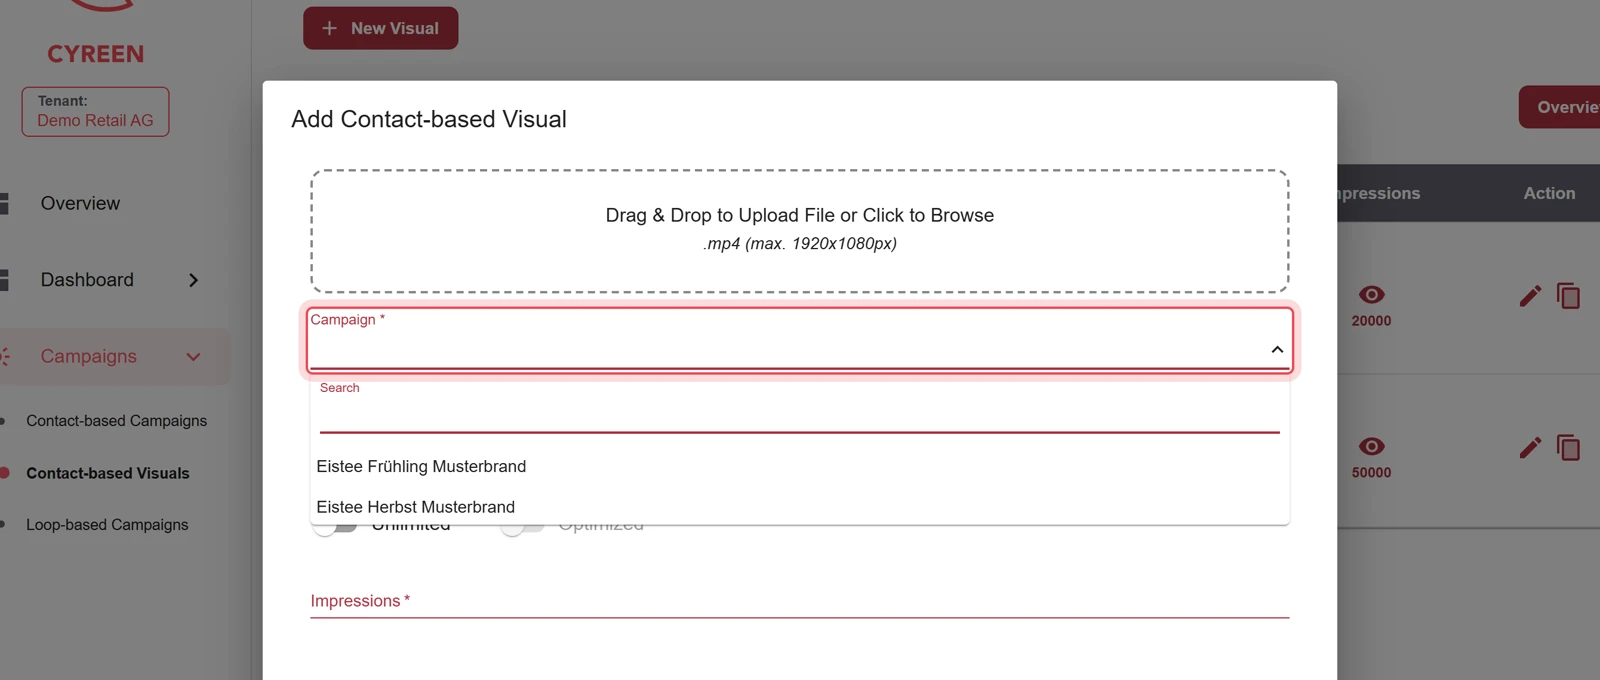
In the Campaign field, choose the campaign the visual belongs to.
-
Choose the run time
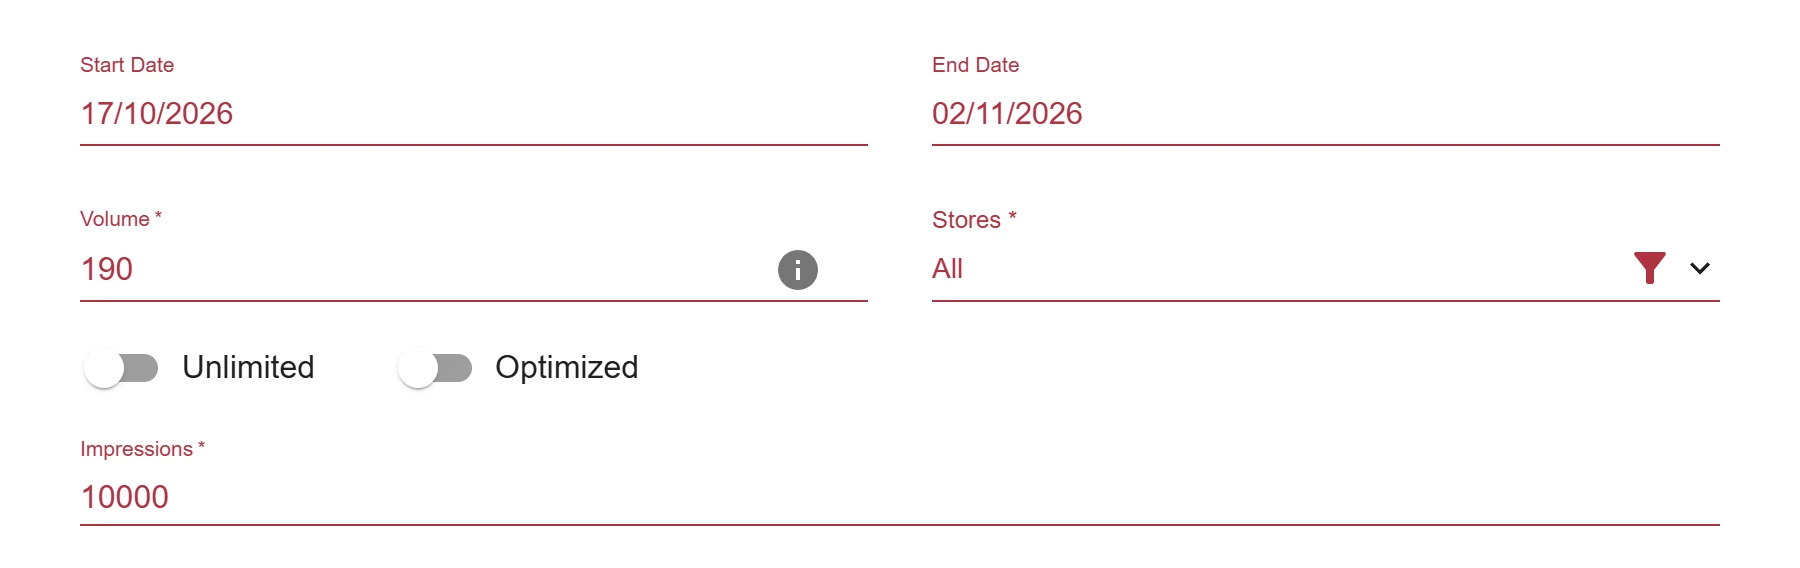
Choose Start Date and End Date. Both dates must be within the run time of the campaign.
-
Check the stores
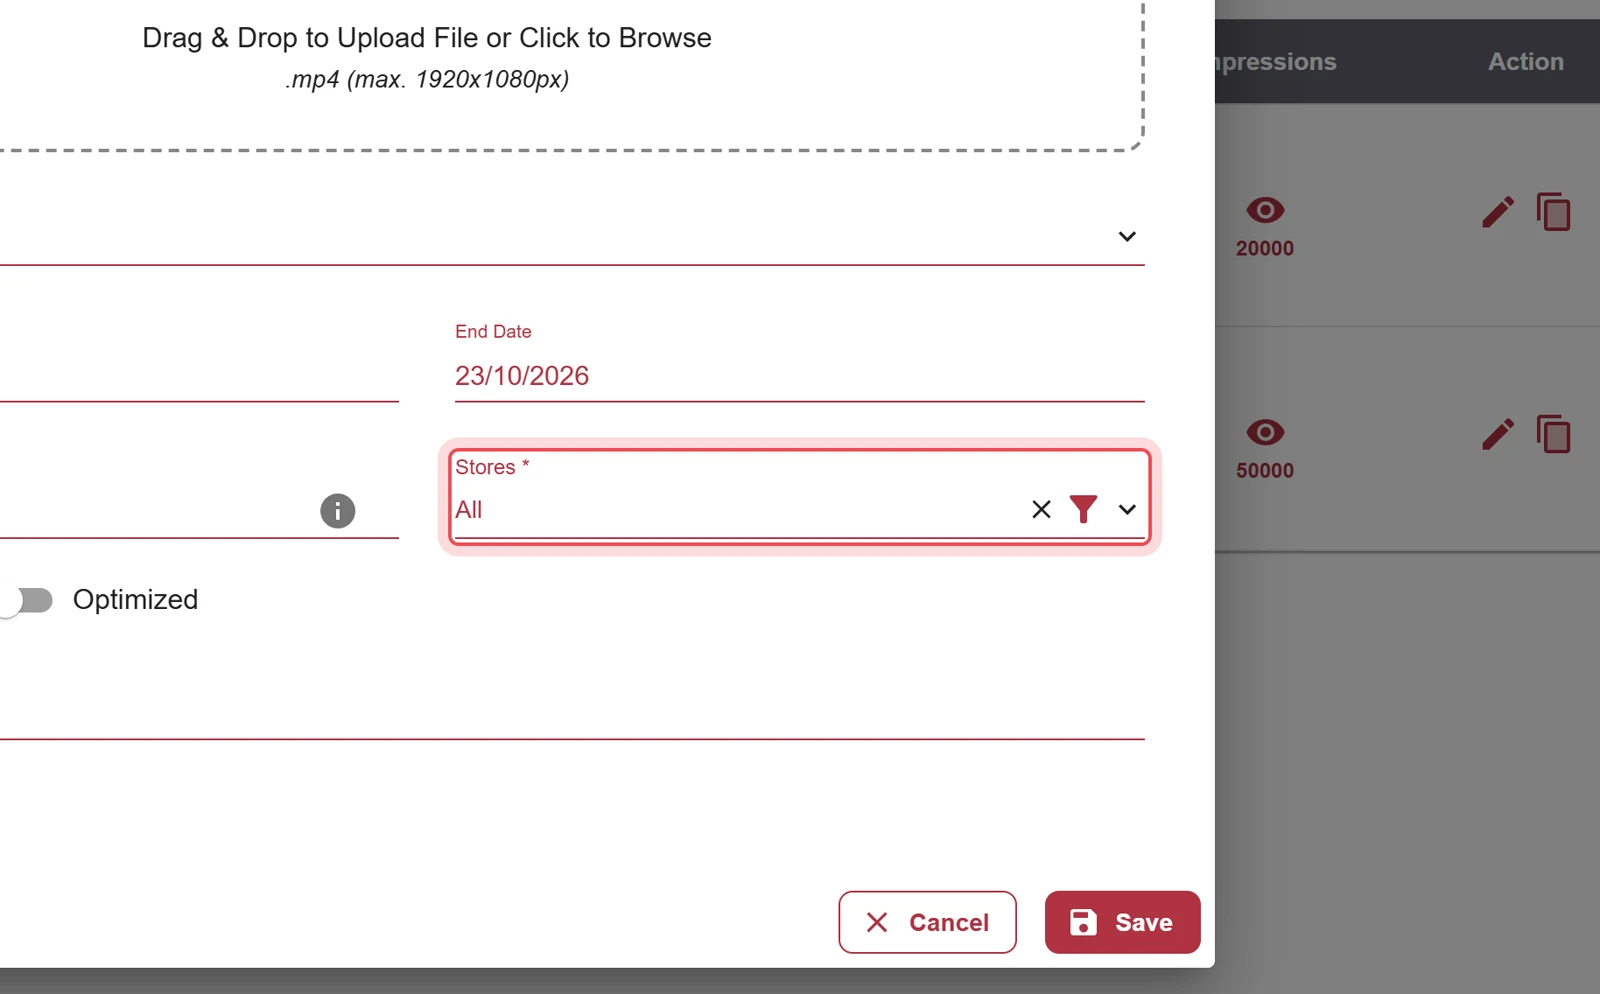
In the Stores field, all stores are selected by default. The choices are the active stores of the chosen owner. Open the field if you want to narrow the selection. How to choose the stores by a saved Listing Check is described in Choose stores by listing.
-
Set the volume
The Volume field is prefilled with 190. We recommend this value as the standard. A higher value makes the visual louder, a lower one quieter.
Value Meaning above 200 Very loud, usually with a loss of sound quality 170 to 200 Normal volume, usually high sound quality (recommended range) below 170 Very quiet, usually too quiet in the store 
-
Set the contact target
- With a contact target (Commercial visual): In the Impressions field, enter how many contacts the visual should reach. The system tries to achieve this reach over the run time.
- Without a contact target (Unlimited visual): Switch on Unlimited. The Impressions field disappears, and the visual plays without guaranteed contacts.
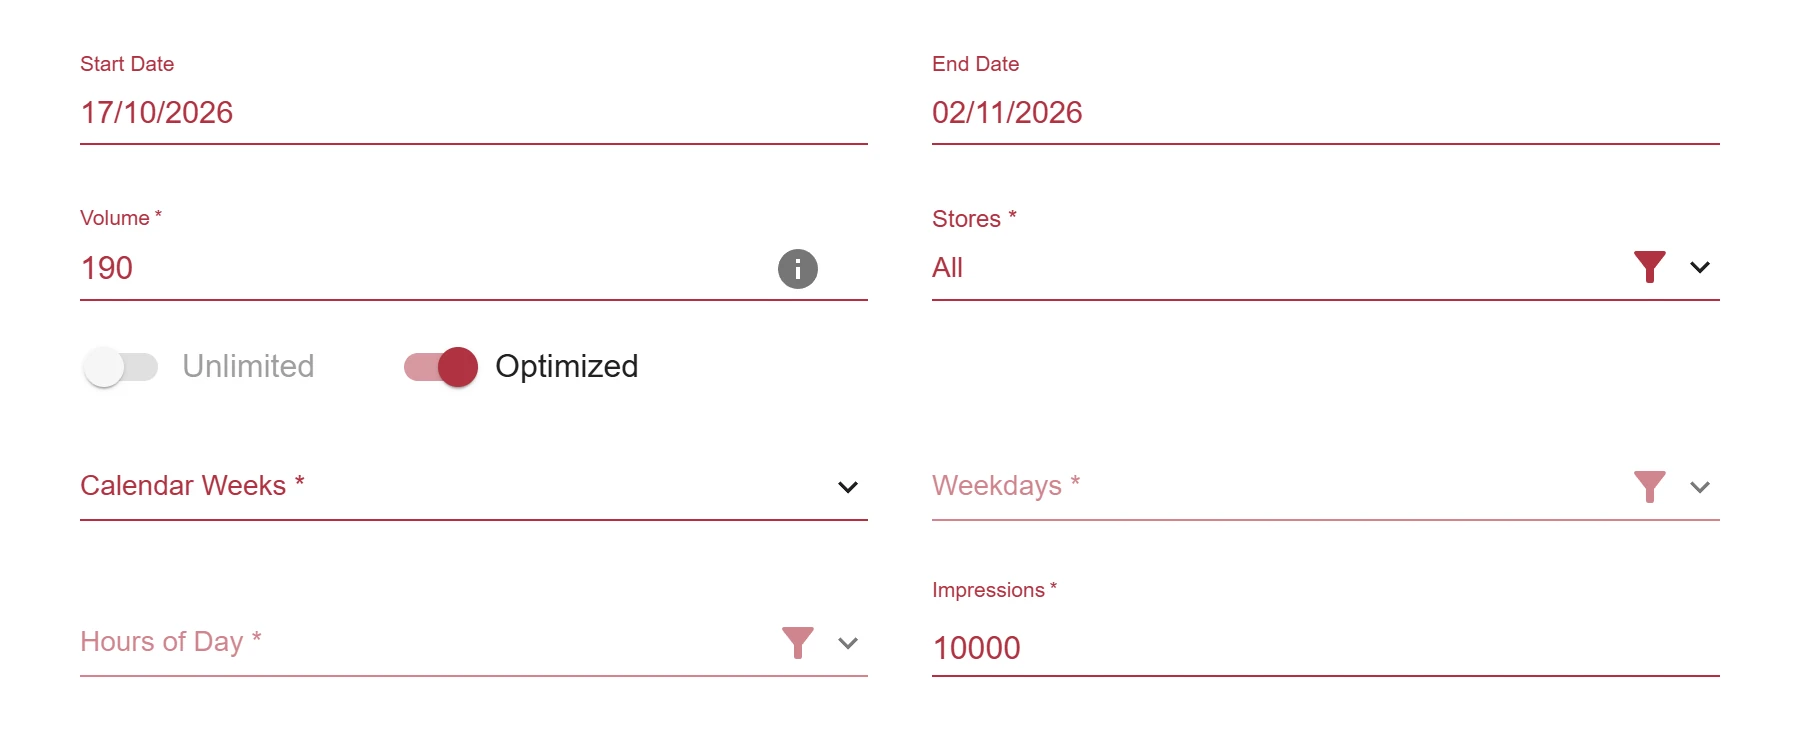
- Optimized: Currently only possible for a Commercial visual, that is with Unlimited switched off, and when stores are selected. With it, you limit the playout to certain Calendar Weeks, Weekdays and Hours of Day.
-
Upload the video
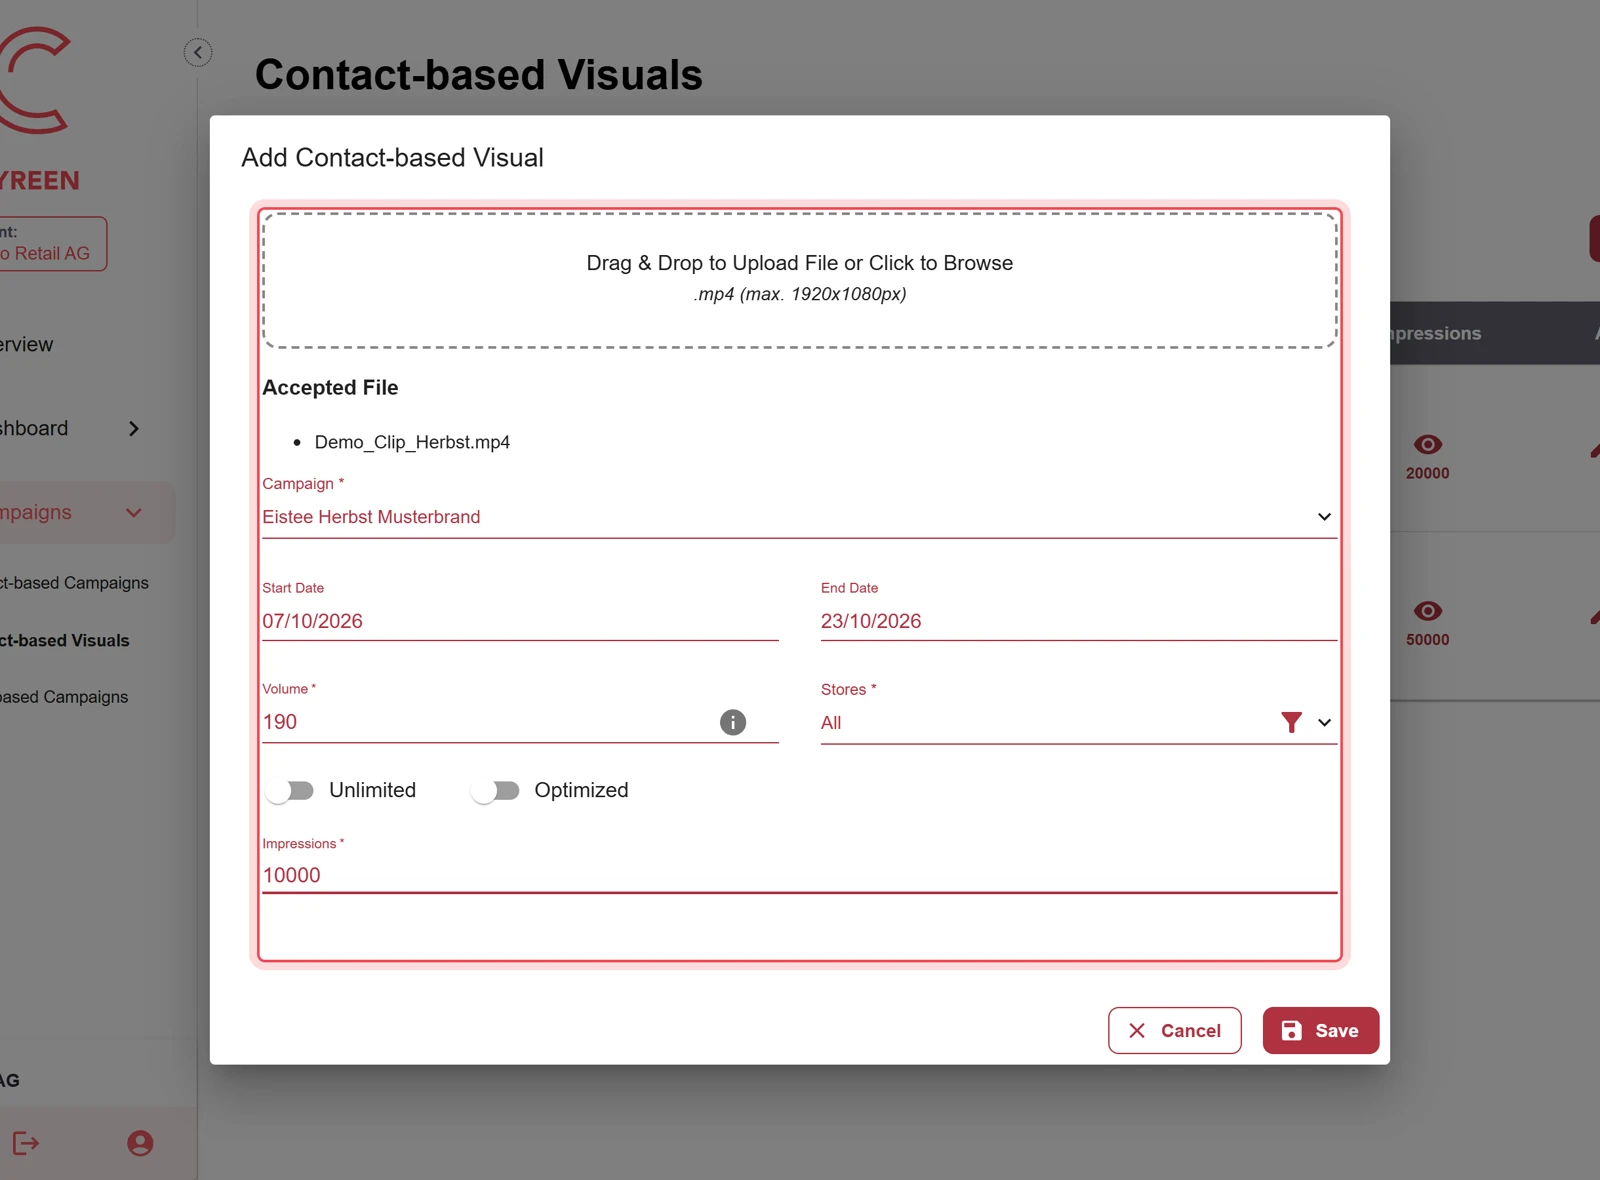
Drag the video file into the field or click to choose it. After the check, it appears under Accepted File.
-
Save
Click Save.
Result
Section titled “Result”The new visual appears in the list and is played out from the chosen date.

Change a visual later
Section titled “Change a visual later”For the visual, click the pencil icon Edit in the Action column, change the details and click Update. This is only possible with the status Active or Scheduled. A completed visual (Completed) only opens for viewing.
| Detail | Scheduled | Active |
|---|---|---|
| Campaign | Yes | No |
| Start Date | Yes | No |
| End Date | Yes | Yes |
| Stores, Volume, Unlimited, Optimized, Impressions | Yes | Yes |
| Replace the video | Yes, in the upload field | No |
For a running visual, Stop Playout and Continue Playout are available instead of the upload field, see Stop a contact-based visual immediately. A contact-based visual cannot be deleted.
Several visuals and gaps
Section titled “Several visuals and gaps”A campaign can have any number of visuals, and there may be a gap between visuals. For example, visual 1 plays in weeks 1 and 2 of the campaign, visual 2 in weeks 4 and 5, and none plays in week 3. The performance evaluation takes such gaps into account.
A/B test
Section titled “A/B test”You cannot set up an A/B test in CAP Explorer yet. Tell your contact at Cyreen which visual belongs to which group, with the name of the visual.
- There are up to 5 groups.
- A group only counts if at least one visual is assigned to it.
The results are shown on the AB Testing tab of the dashboard, see Understand the dashboards.
Problems?
Section titled “Problems?”My campaign is not available for selection. Create the campaign first, see Create a contact-based campaign. Only active and scheduled campaigns can be selected.
The file is not accepted. Check format, size and file name against the Visual specifications.
The dates cannot be saved. Start and end of the visual must be within the run time of the campaign. Otherwise «Clip start date should be within the campaign start and end date range.» appears.
Watch the whole process as a video (46 seconds)
Help assistant
Answers from the Help Center, no AI