
Create a contact-based campaign
In the first step, you create the campaign entry to which you later assign analytics products and visuals.
Before you start
Section titled “Before you start”- You need the permission Contact-based Campaigns at the Manage level, see Access and permissions.
- Have the campaign name, brand name, brand company, start and end ready.
- Start and end set the maximum run time of all visuals in the campaign.
-
Open Contact-based Campaigns
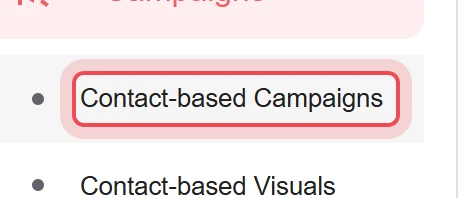
In the Campaigns menu, choose Contact-based Campaigns.
-
Start a new campaign
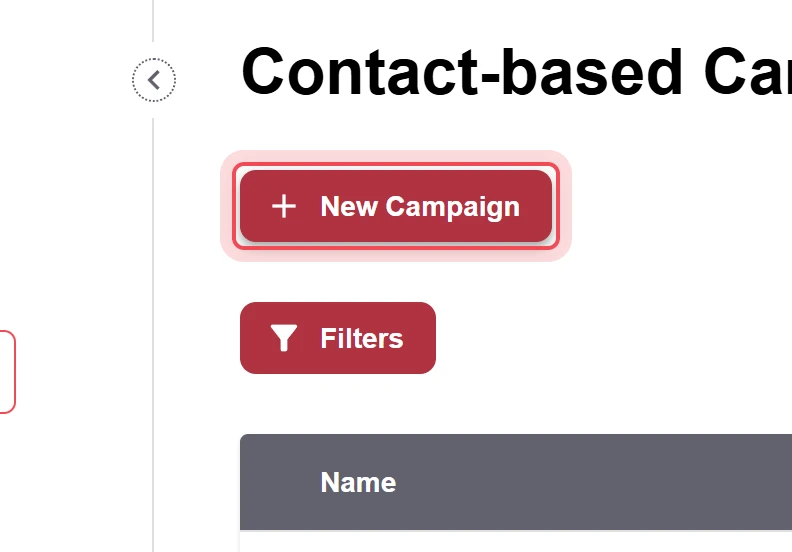
Click New Campaign.
-
Enter name and brand
Enter the campaign name in the Campaign Name field and the brand name in the Brand Name field.
-
Choose the run time
Choose Start Date and End Date. The end must be after the start.
-
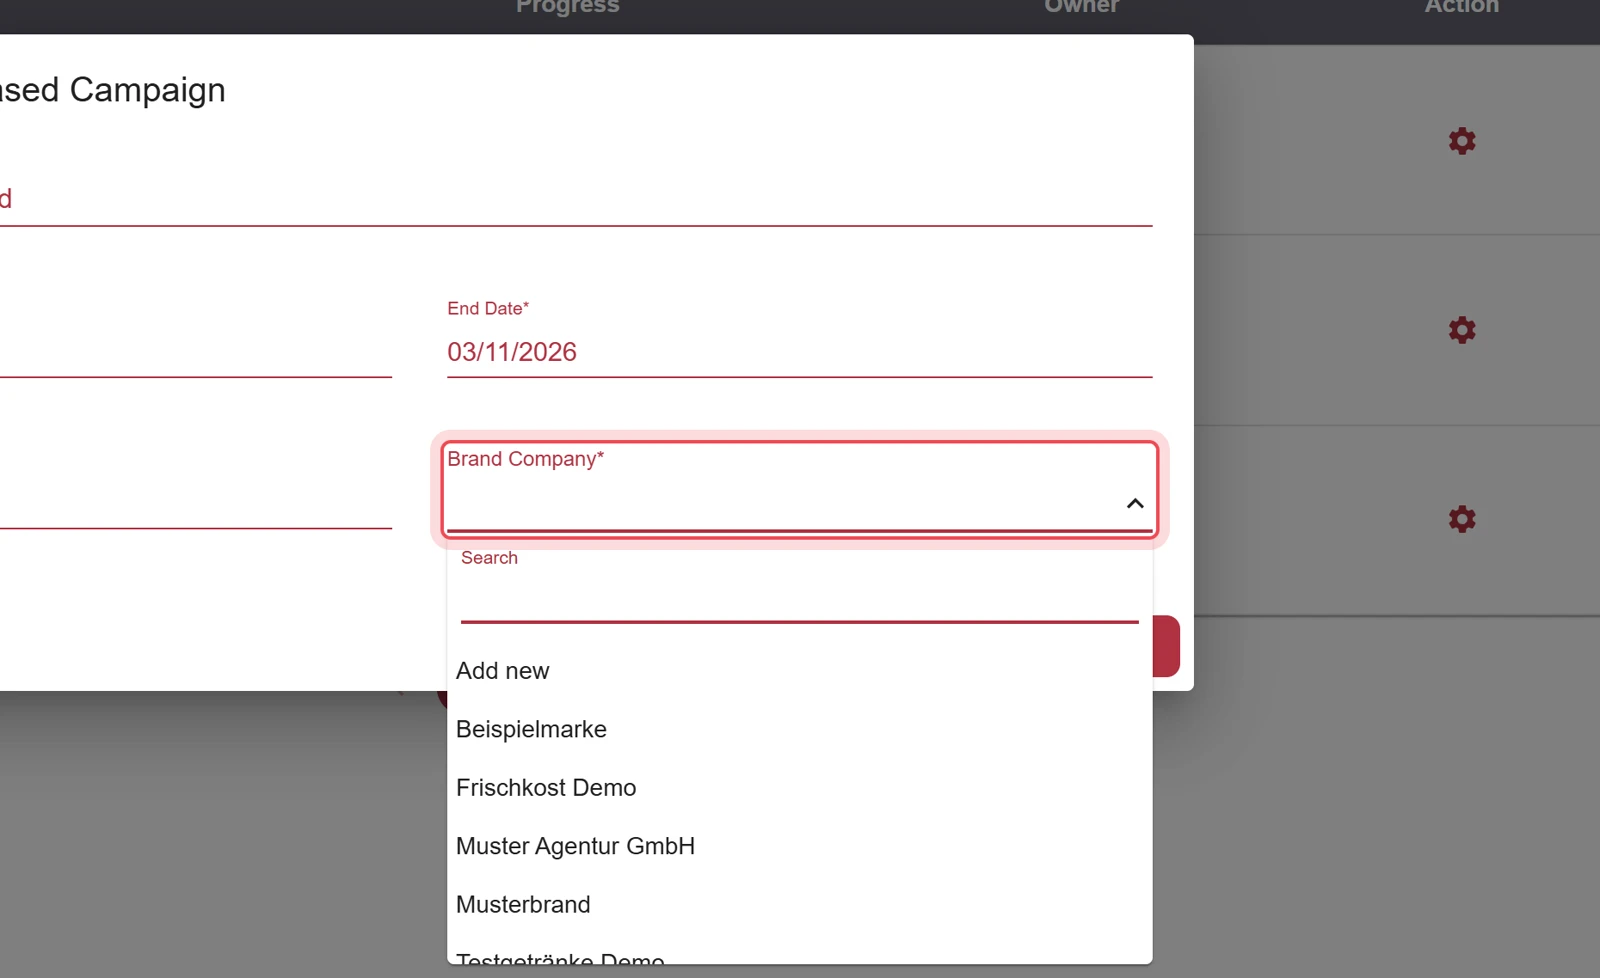
Choose the brand company
In the Brand Company field, choose the company of the brand. If it is missing from the list, choose Add new and enter the name.
-
Save
Click Save.
Result
Section titled “Result”The new campaign appears in the list. Now you add visuals, see Add a contact-based visual.

Change the campaign later
Section titled “Change the campaign later”You change the name, brand and run time as long as the campaign is not completed.
-
In the Action column of the campaign, click the gear icon and choose Edit. New with the upcoming CAP Explorer release. The Update Contact-based Campaign window opens.
-
Change Campaign Name, Brand Name or Brand Company. Start Date is locked once the campaign has started, End Date once it has ended.
-
Click Update.
Problems?
Section titled “Problems?”I cannot save. Check that the end is after the start and that all fields are filled in.
The brand company is missing from the list. Choose Add new in the Brand Company field and enter the name.
Edit is gray. With «Campaign is completed», the campaign is completed and can no longer be changed. With «No access», your role lacks the right to do so.
Watch the whole process as a video (41 seconds)
Help assistant
Answers from the Help Center, no AI